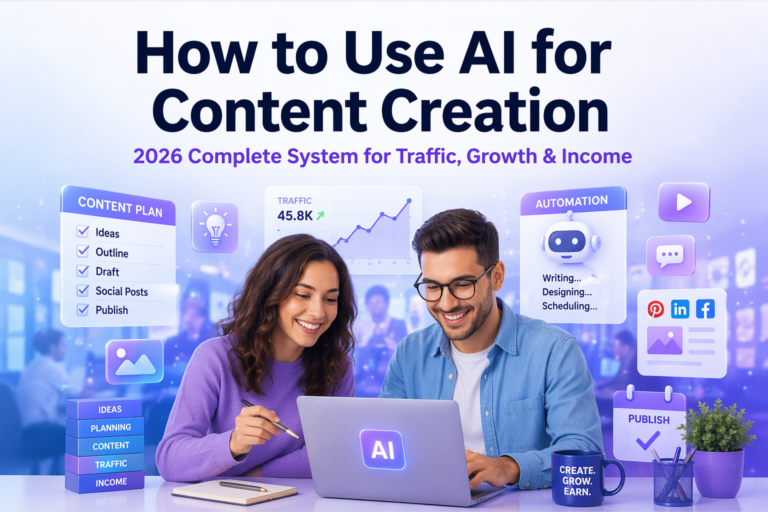
How to Turn One Piece of Content into 10 Posts with AI
Stop starting from zero every day. One strong article can become Pinterest pins, LinkedIn posts, Instagram captions, Facebook posts, emails, and short tips.
You work hard on one piece of content.
Maybe it is a blog post. Maybe a LinkedIn post. Maybe an Instagram caption you kept editing again and again.
It takes time. It takes energy. And when you finally publish it, you already feel tired.
Then the next day comes, and you need to create something new again.
This is where many people get stuck.
I know that feeling very well. When I was testing AI for content workflows, I noticed that the biggest problem was not always writing. Very often, it was pressure.
Pressure to always have a new idea. Pressure to post on many platforms. Pressure to stay visible even when time is short.
Most creators do not always need more ideas. They need a better system for using the ideas they already have.
That is what this guide is about.
In this article, I will show you how to turn one piece of content into 10 posts with AI, step by step. You will learn how to save time, reduce stress, stay consistent, and get more value from the content you already created.
Best AI Writing Tools in 2026 →
Why this strategy works so well
Most people think they need to create more.
More posts. More ideas. More topics. More content every day.
But in many cases, that is the wrong answer.
The better answer is this:
Use one strong idea many times.
That does not mean copy-paste the same text everywhere.
It means you take one useful piece of content and turn it into smaller, platform-friendly versions.
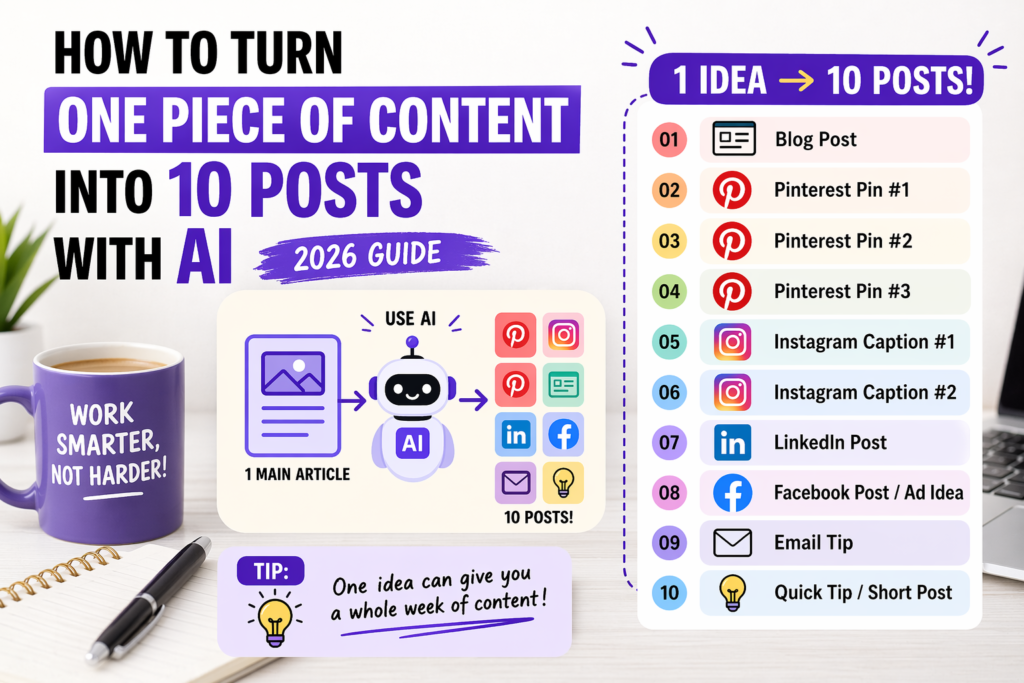
For example, one blog post can become:
- 3 Pinterest pins
- 2 Instagram captions
- 1 LinkedIn post
- 1 Facebook post or ad idea
- 1 short email
- 2 mini tips for social media
That is already 10 pieces from one main idea.
The biggest result is not only speed. It is consistency. When one article supports a full week of content, you stop feeling like every day must start from zero.
What repurposing content means
Repurpose means you reuse your content in a new format.
Simple example:
You write a blog post called How to Write Etsy Titles with AI.
Then you turn it into:
- a Pinterest pin with a strong headline
- a LinkedIn post about your biggest lesson
- an Instagram caption with one quick tip
- a short Facebook post about one mistake to avoid
- a checklist for beginners
The main topic stays the same, but the delivery changes.
This matters because people do not consume content the same way on every platform.
Want depth, steps, and clear explanations.
Want fast visual value and strong headlines.
Often like lessons, short stories, and practical insight.
Step 1: Start with one strong main piece of content
The best base is usually one strong article, guide, tutorial, or long post.
This main piece should solve one clear problem.
Good examples:
- How to Write Etsy Titles with AI
- How to Start a Blog with AI
- How to Create High-Converting Facebook Ads with AI
- How to Write LinkedIn Posts That Get Views Using AI
A strong main piece gives you many small ideas inside it.
For example, if your main article is about starting a blog with AI, it may include:
- how to choose a niche
- how to write faster
- how to make outlines
- what mistakes to avoid
- how to stay consistent
Each of these can become a separate post later.
How to Start a Blog with AI →
Step 2: Find the best small ideas inside your main content
Now read your main content again and break it into smaller parts.
Look for:
- one tip
- one mistake
- one story
- one result
- one question
- one step
- one surprising line
Let’s say your original article is about writing Facebook ads with AI.
Inside that article, you may already have these mini-post ideas:
- Why most ad hooks fail
- One easy AI prompt for ad copy
- A mistake beginners make with ad headlines
- A simple before/after ad example
- How to write a clear CTA
That is already five smaller content ideas from one article.
Do not repurpose the full article first. Repurpose the best parts. Small, focused posts are usually easier to read and easier to share.
Step 3: Decide which platforms you want to use
You do not need every platform.
Many people get overwhelmed because they think they need to be everywhere.
Start with the places that make sense for your topic and your audience.
Best AI Tools by Profession (2026 Guide) →
Step 4: Ask AI to rewrite for each platform
This is where AI becomes very useful.
But you need to guide it well.
Weak prompt: “Turn this into a post.”
Use clearer prompts instead:
Turn this blog section into a short LinkedIn post for beginners. Keep it simple, friendly, and practical.
Create 3 Pinterest pin title ideas based on this article. Use emotional but clear language.
Turn this paragraph into 2 Instagram captions. Keep the tone helpful and easy to read.
When I tested AI tools for this kind of workflow, I noticed the same pattern again and again: the better the prompt, the better the result.
Step 5: Turn one article into Pinterest pins
Pinterest is one of the easiest ways to get extra traffic from one article.
From one blog post, you can usually create:
- 3 different pin headlines
- 3 visual directions
- 3 short pin descriptions
Example article:
Possible Pinterest headlines:
- Etsy Titles That Get More Clicks
- No Sales on Etsy? Fix Your Titles
- How to Write Better Etsy Titles with AI
Pinterest usually works better when the message is simple and emotional.
Weak
Thoughts on title optimization
Better
Why Your Etsy Titles Are Not Getting Clicks
How to Create Pinterest Pins with AI →
Step 6: Turn the same article into Instagram captions
Instagram needs shorter and more natural content.
You do not need to explain everything there. You only need one useful angle.
From one article, you can create:
- one quick tip caption
- one mistake-based caption
- one “save this” caption
- one mini story
Example from an article about blogging with AI:
Caption idea 1:
Many beginners think AI will do everything for them. It will not. But it can save a lot of time when you use it for outlines, ideas, and rewrites.
Caption idea 2:
If writing a blog post feels too slow, try this: ask AI for 10 outline ideas first. It makes the first step much easier.
Caption idea 3:
Your first blog post does not need to be perfect. It needs to be useful.
Step 7: Create a LinkedIn post from your main idea
LinkedIn works especially well when you mix practical advice with personal experience.
A strong LinkedIn post often starts with:
- a lesson
- a mistake
- a surprising result
- a short story
I used to think I needed a new idea every day to stay consistent online. That was exhausting. Once I started repurposing one article into smaller posts with AI, content became much easier to manage.
That feels natural. It also opens the door to share a lesson.
How to Write LinkedIn Posts That Get Views Using AI →
Step 8: Turn your content into Facebook post or ad ideas
Not every repurposed piece has to be organic content.
Some of it can become ad copy too.
This is useful if your article solves a real problem.
Main article: How to Start a Blog with AI
Facebook post idea: Want to start a blog but feel stuck at the writing part? AI can help you find ideas, build outlines, and write faster without feeling lost.
Main article: How to Write Better Etsy Titles with AI
Facebook post idea: No sales on Etsy? Your title may be part of the problem. Here is a simple way to fix it faster with AI.
Step 9: Use AI to create 10 pieces from one content asset
Now let’s put it all together.
Main article:
That is 10 pieces from one article.
Before publishing your main article, plan the 10 smaller pieces at the same time. It makes promotion much easier.
Step 10: Make a simple weekly content workflow
A simple system is better than a complicated one you never follow.
Publish the main article.
Create 2 Pinterest pins.
Post 1 Instagram caption.
Publish 1 LinkedIn post.
Create 1 more pin and 1 Facebook post.
Review what worked.
You do not need to post everything in one day. Spread the content out so one article supports you for a full week or more.
Step 11: Check what performs best and repeat it
Once you publish your repurposed content, watch what people respond to.
Look at:
- clicks
- saves
- impressions
- comments
- shares
- time on page
Maybe Pinterest brings the most traffic. Maybe LinkedIn gets the best discussion. Maybe Instagram tips get the most saves.
This tells you where to focus next.
Common mistakes to avoid
1. Starting with weak content
If the main piece is thin, the smaller posts will also feel weak.
2. Copy-pasting the same text everywhere
Repurposing is adapting, not repeating.
3. Using AI without clear prompts
This creates generic content.
4. Trying too many platforms at once
That leads to burnout and lower quality.
5. Making every post too long
Small posts should focus on one clear idea.
6. Ignoring real examples
Practical content almost always feels stronger.
7. Never reviewing results
Then you do not know what is worth repeating.
Simple AI prompts you can copy
Create 5 Pinterest pin title ideas from this article. Keep them simple, emotional, and clear.
Turn this article into 3 short Instagram captions for beginners. Use friendly and direct language.
Rewrite this article as a LinkedIn post with one short story, three lessons, and a simple ending.
Turn this main idea into a short Facebook post for small business owners. Focus on the problem and one clear solution.
FAQ
Yes. Start with one useful article and break it into smaller ideas. AI can help you adapt each idea for different platforms.
See the full AI content system →A practical blog post or guide is usually the best starting point because it already has tips, subtopics, examples, and clear sections.
Learn how to start a blog with AI →No. One strong writing tool is enough to start. The workflow matters more than using many different tools.
Compare AI writing tools →No. The main idea can stay the same, but the format, hook, and wording should fit each platform.
Learn LinkedIn post writing →Rewrite the output in simpler words and add one real thought, opinion, or example from your own experience.
See prompts that make AI sound human →It depends on your niche. Pinterest is often strong for traffic, while LinkedIn can work well for trust, reach, and professional topics.
Learn Pinterest content strategy →Final thoughts
You do not always need more content.
Very often, you need better use of the content you already have.
That is the real power here.
When you turn one piece of content into 10 posts with AI, you save time. You reduce stress. You stay visible longer. And you make every article work harder for you.
Start small.
- Take one good article.
- Find 10 small ideas inside it.
- Use AI to adapt them for different platforms.
- Publish them across the week.
- Watch what works.
That simple system can change your whole workflow.